300x600
DIY Stitched Ornaments
These DIY Stitched Ornaments were originally created for Consumer Crafts.
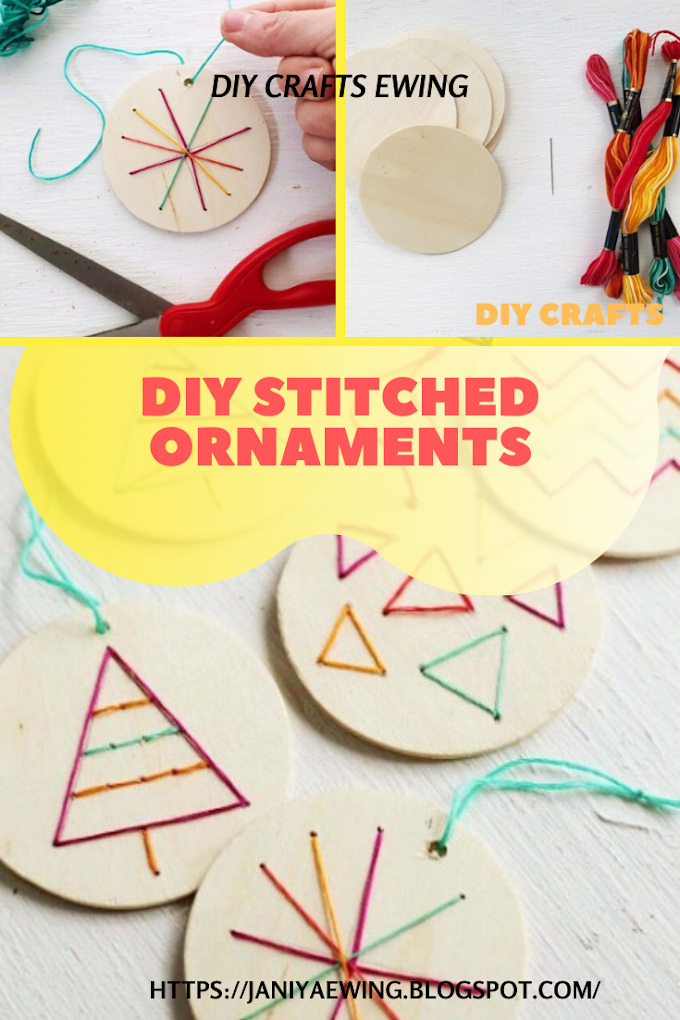
Don’t you love seeing everyone’s different methods for tree decorating this time of year? Whether the ornaments for your tree are store-bought or homemade, making ornaments every year is such a fun tradition and unique way to be creative. Plus, if you don’t hang them on your tree they are perfect to attach to treats or presents to give your gifting an extra special touch! And speaking of special, today’s DIY Stitched Ornaments tutorial is just that. They’re embroidered! On wood! And they are so cute and fun to make! Let’s get to it!
Supplies needed to make your own DIY Stitched Ornaments
- Simple Cutout Wood Shape: Circle
- Embroidery Needles
- Variegated Embroidery Floss: Cotton Floss 36 Pack
- Glitter Cardstock
- Tape
- Glue Gun + Sticks
- Drill
- Pencil
How to make your own DIY Stitched Ornaments
Step 1. Begin my marking the holes for your designs on your wooden circles. You can either do this by using a pencil to mark them first, or you can free-hand it with your drill. I marked some of the designs that I wanted to be more exact (like the chevron) and free-handed the simpler designs (like the trees). Drill all of your holes making sure that you use a drill bit large enough for your needle to fit through easily. You will also want to drill an extra hole at the top for hanging.
Step 2. Stitch your design through your holes the way you would embroider on fabric!
Step 3. Turn your ornament over and cut off any excess length from the floss. Tape all ends down to secure them.
Step 4. Place your ornament on the glittered cardstock and trace it. Then, cut it out.
Step 5. Glue your cardstock to the back of your ornament to cover your strings, using your hot glue gun. Press firmly.
Step 6. Cut a piece of string long enough to hang your ornament with and feed it through the hole you made at the top. Tie in a knot.
That’s it! You’ve made some adorable, handmade ornaments that will be a keepsake for years to come!
Don’t you love them? The textures of the floss on the wood is so good. Plus, the opportunities to be creative abound with this project since you can create a million different designs using a million different color schemes! And this is such a fun project that kids can help with, it’s just over/under sewing!
How are you decorating your tree this year? I’d love to hear all about it!


0 Komentar