300x600
Matchbox Advent Calendar
This DIY Christmas advent calendar is made from a dollar store cookie sheet and matchboxes covered in Christmas paper.
Materials Needed
- Metal Cookie Sheet (from Dollar Tree)
- Drill or Metal Punch
- Spray Paint
- Christmas Scrapbook Paper
- Paper Trimmer
- Glue Stick or Adhesive Runner
- 24 Empty Match Boxes (also from Dollar Tree)
- Set of Numbers
- 1 Inch Circle Punch
- Magnets
- Ribbon for Hanging
Today I’m sharing an easy DIY Christmas advent calendar that anyone can make. It’s inexpensive and simple to put together, but it turns out really cute and is fun to use through the month of December.
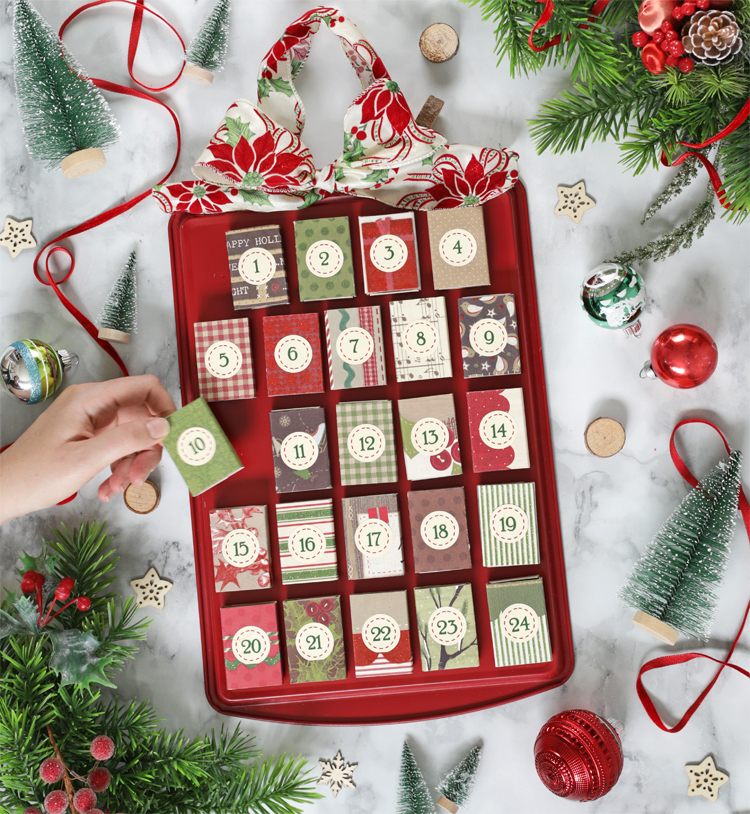
Each day you open a matchbox to reveal a treat or a piece of paper with an activity written on it. The matchboxes have magnets on the back so that they stick to the cookie sheet.
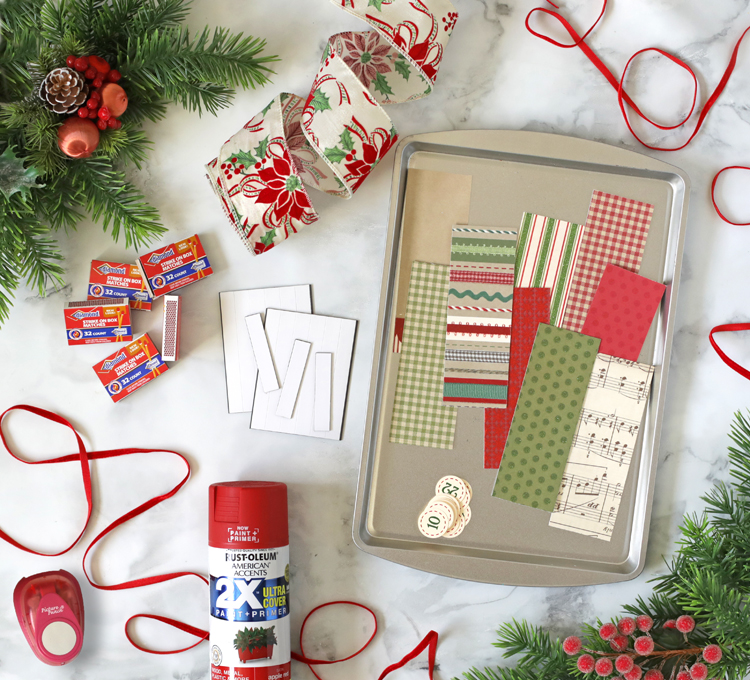
A few notes about the supplies:
- The matchboxes came in packs of 10 for $1 at Dollar Tree, so I bought three packs, dumped out the matches and saved them for camping and lighting our wood stove. If you don’t want to save the matches, just be smart with how you dispose of them so that you don’t start a fire.
- If you’re only making one of these at a time, you can buy individual pieces of Christmas scrapbook paper. If you want to do this as a group craft project, it’ll save you money to buy a Christmas paper pad.
- I bought inexpensive sticky craft magnets that came in strips and cut them down to fit the backs of the matchboxes.
Instructions
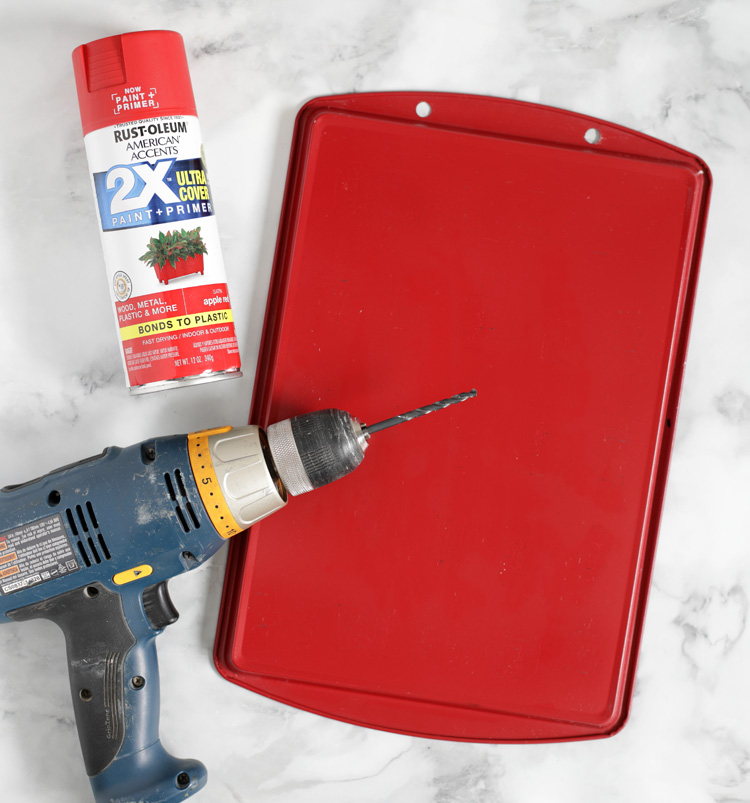
Step 1: Drill holes into one end of the cookie sheet so you’ll be able to hang it up. This was simple to do using my husband’s power drill and a drill bit that I thought looked like the right size.
Step 2: Spray paint the cookie sheet in the color of your choice.
Step 3: Cut 24 strips of paper so they measure 2 1/8 inches x 4 1/2 inches. It was quick work using a paper trimmer.
Step 4: Wrap a paper strip around the outside of a matchbox and attach it into place using a glue stick.
Step 5: Type the numbers on the computer and print them onto cardstock. Cut them out using a 1 inch circle punch. Or if you have a Silhouette machine, you could design the numbers in Silhouette Studio or download pre-designed numbers and do a Print and Cut. Or you could buy a set of number stickers. I’ve seen sets at Hobby Lobby specifically made for use on advent calendars. Lots of options for this part!
Step 6: Glue the number circles to the fronts of each of the matchboxes. You may want to lay out your matchboxes in the order they’ll be on the cookie sheet so that you can make a pleasing flow of the different papers you use.
Step 7: Add magnet pieces to the backs of each matchbox. Now they’ll stick to the metal cookie sheet.
Step 8: Thread a ribbon through the holes in the cookie sheet, tie a bow, then hang your brand new advent calendar!
Some notes about doing this project for a group:
I was in charge of doing this project at a Super Saturday craft day for a group of 18 women. If you are looking for a group craft project, I would recommend this one. It worked out really well. The approximate cost per person was $6.50. I painted the cookie sheets, cut the paper into strips and punched out the number circles beforehand so that we could finish in the time allotted. The women only had to wrap their boxes, glue everything together and tie their bow.
Ideas for filling the boxes:
- Mini Candy Bars (those little Mr. Goodbar and Crunch bars fit perfectly)
- A Christmas themed activity like: make a gingerbread house, cut paper snowflakes or build a snowman.
- Bible verses telling the Nativity story.
- Christmas movies to watch
- Christmas songs to sing
- Christmas books to read
In years past, it’s been the most fun when I do a mix of all of the above ideas. Then my kids never know what they’ll be getting each day when they open the box. When I go to fill the boxes, I look at our calendar and choose the activities accordingly. If I know we will be busy on a certain day, I put a candy in. If I know we are already going to drive around and look at Christmas lights one day, I put a paper that says, “Drink apple cider” and we take it along on our activity. This keeps it from being too much work on my part but adds so much magic, anticipation and family fun to our Christmas season.
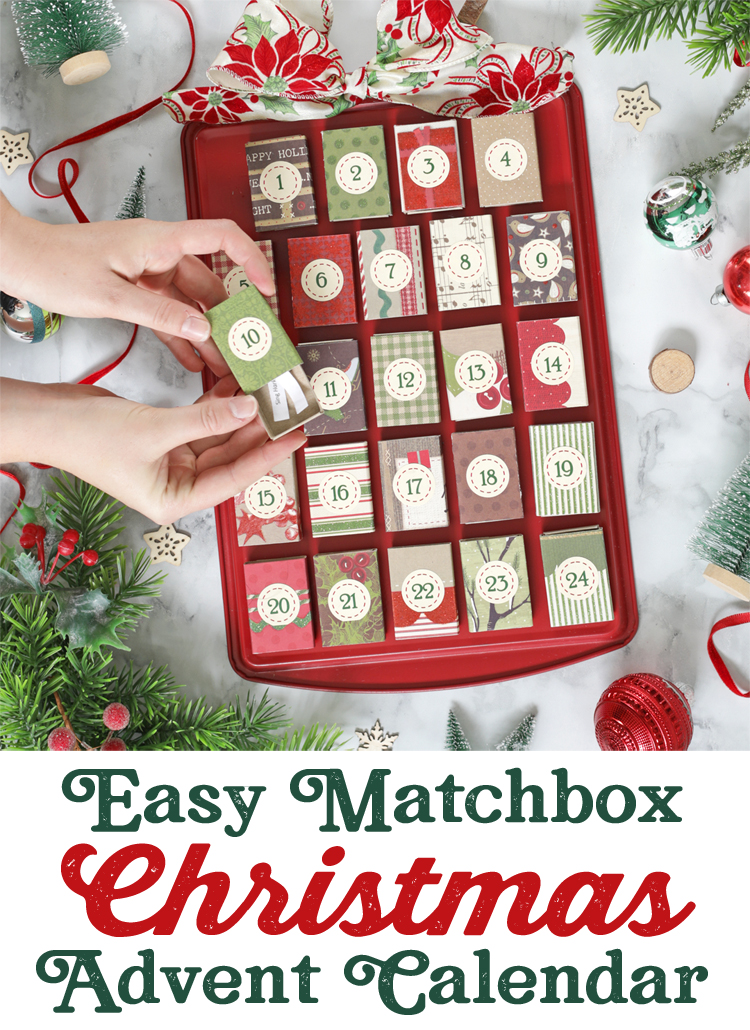
Like this idea? Pin it so you don’t forget it!




0 Komentar